Making Pictures Transparent in PowerPoint: Alright, Let’s find This Out Together! You know, I’ve always struggled with this one thing in PowerPoint. Although we in Creative One Cloud had solved all of these problems you can just asked us and now the professional team will came to help you. But lets learn this together on this powerpoint tutorial.
You’ve got this great slide design, maybe some cool colours, and then you try to drop in a picture, and boom – its solid, blocky background just clashes. I had the question?
I’m sure you like me had seen presentations that looks perfect and they melt to the background, they are professional. So here I want to tell you how do they do that?
Well, I’ve been doing some digging, and it turns out, making pictures transparent isn’t some dark art only presentation gurus know. To me it’s look like a game changer, it will look your slides less. I think it will make the images like they are a part of slide
I’m learning this right alongside you, so let’s walk through the easiest ways I’ve found to get those images looking just right. No fancy tech talk, just us figuring it out.
1. Making the Whole Picture a Bit See-Through (The “Ghostly Effect” Method)
This is the one I figured out first, and it’s probably what most people think of when they hear “transparent.” You just want the whole picture to be a little bit faded, so you can see things behind it.
Click on Your Picture: Okay, on the first step, we need to just click on the picture you want to adjust. You’ll notice that a new tab pops up at the top, something like “Picture Format” (or “Picture Tools Format” if you’re on an older version). That’s where magic happens for images we have.

Find “Transparency”: On that “Picture Format” tab, I look for “Transparency.” It’s usually grouped with other things like “Adjust” or “Picture Styles.” When I click it, a little menu pops down with some percentages – like 15%, 30%, etc. These are great for a quick fix if you just need a little fade.
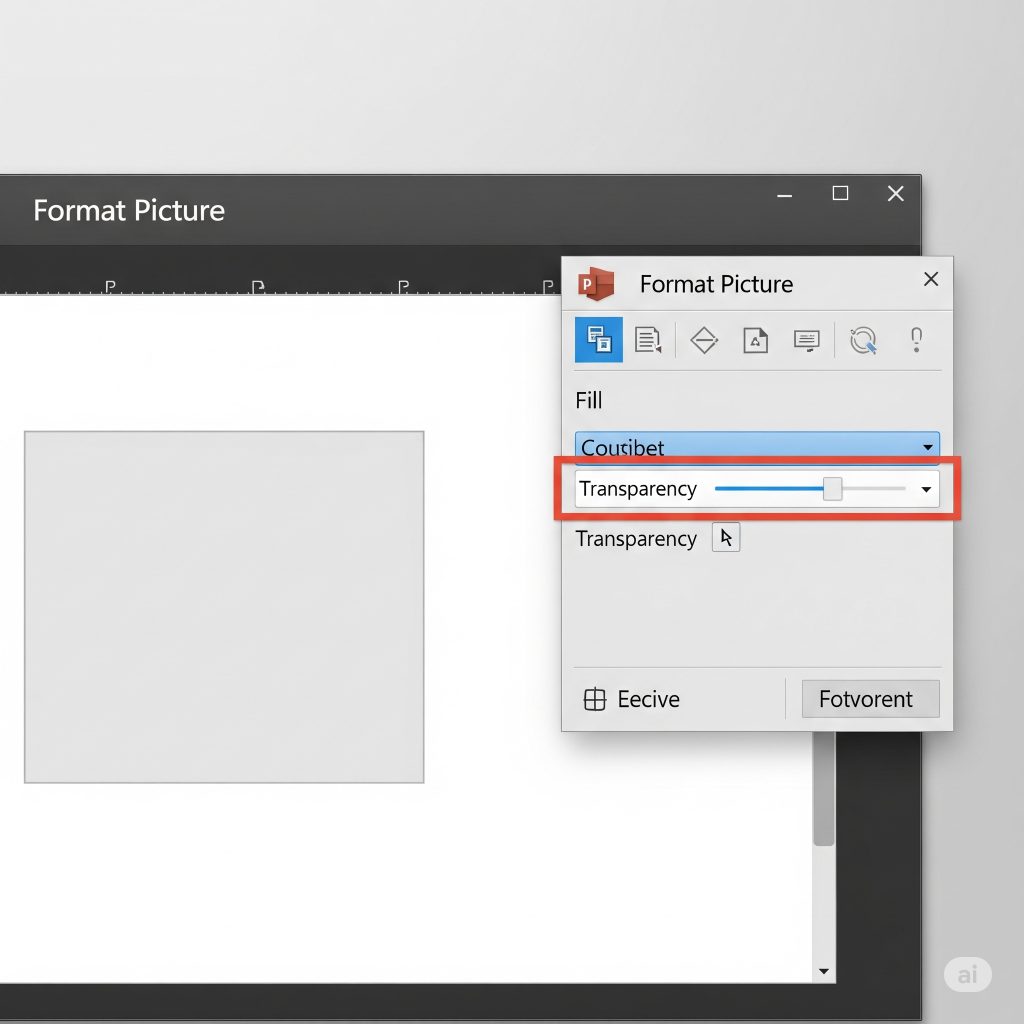
Fine-Tuning (The “Just Right” Slider): But if those presets aren’t quite perfect, there’s a lifesaver option: “Picture Transparency Options.” Click that, and a panel usually appears on the right side of your screen. Look for the “Transparency” slider in there. This is where you can really play! Drag it to the right to make your picture more and more see-through. I just keep wiggling it until it looks right to my eye. 0% is totally solid, 100% means it’s completely gone, which… isn’t very useful unless you want it invisible, I guess!
2. Making a Specific Colour Vanish (The “Magic Eraser for transparent background” Trick)
This one blew my mind when I learned it. You know how sometimes you have a logo with a white background, and you just want the logo, not the white box around it? This is exactly for that!
Select Your Image: Same as before, click on the picture. “Picture Format” tab again.
Go to “Color” Options: On the “Picture Format” tab, I look for “Color” (sometimes it’s called “Recolor”).
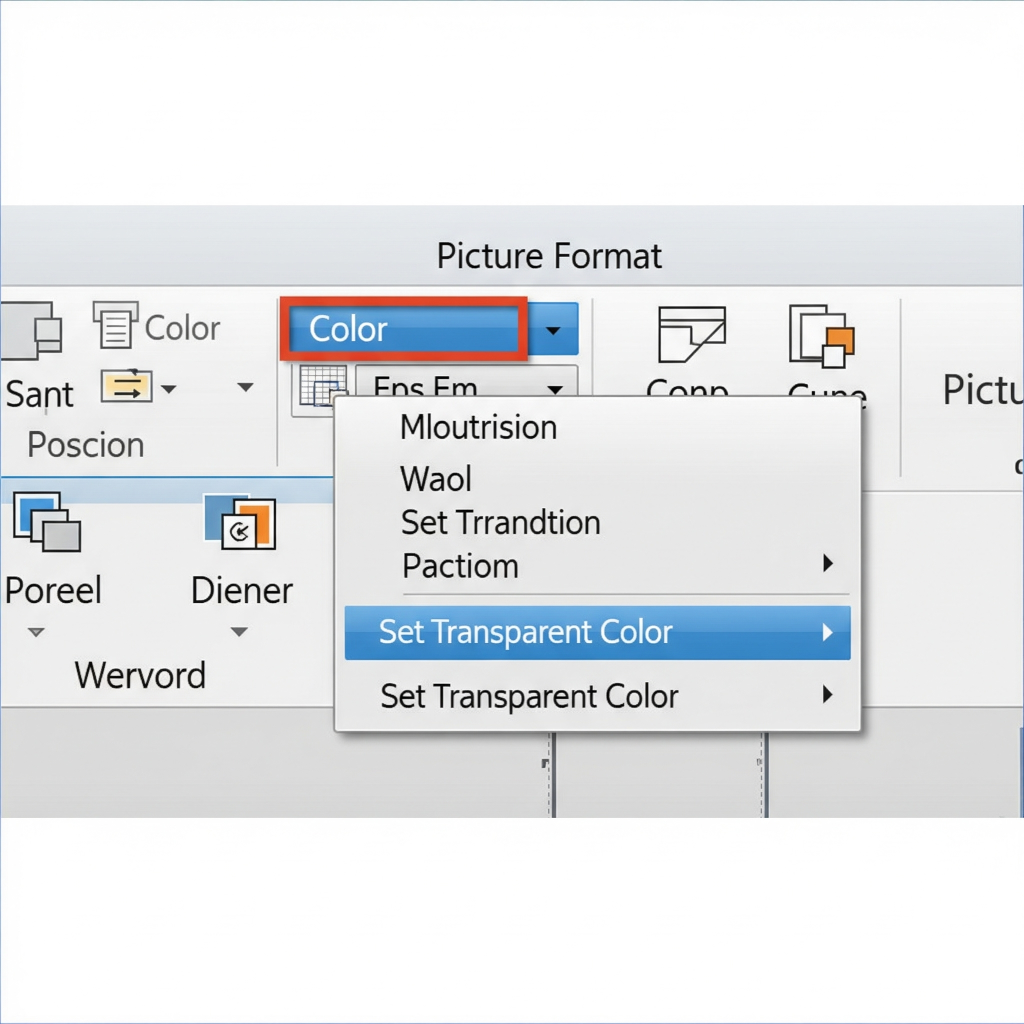
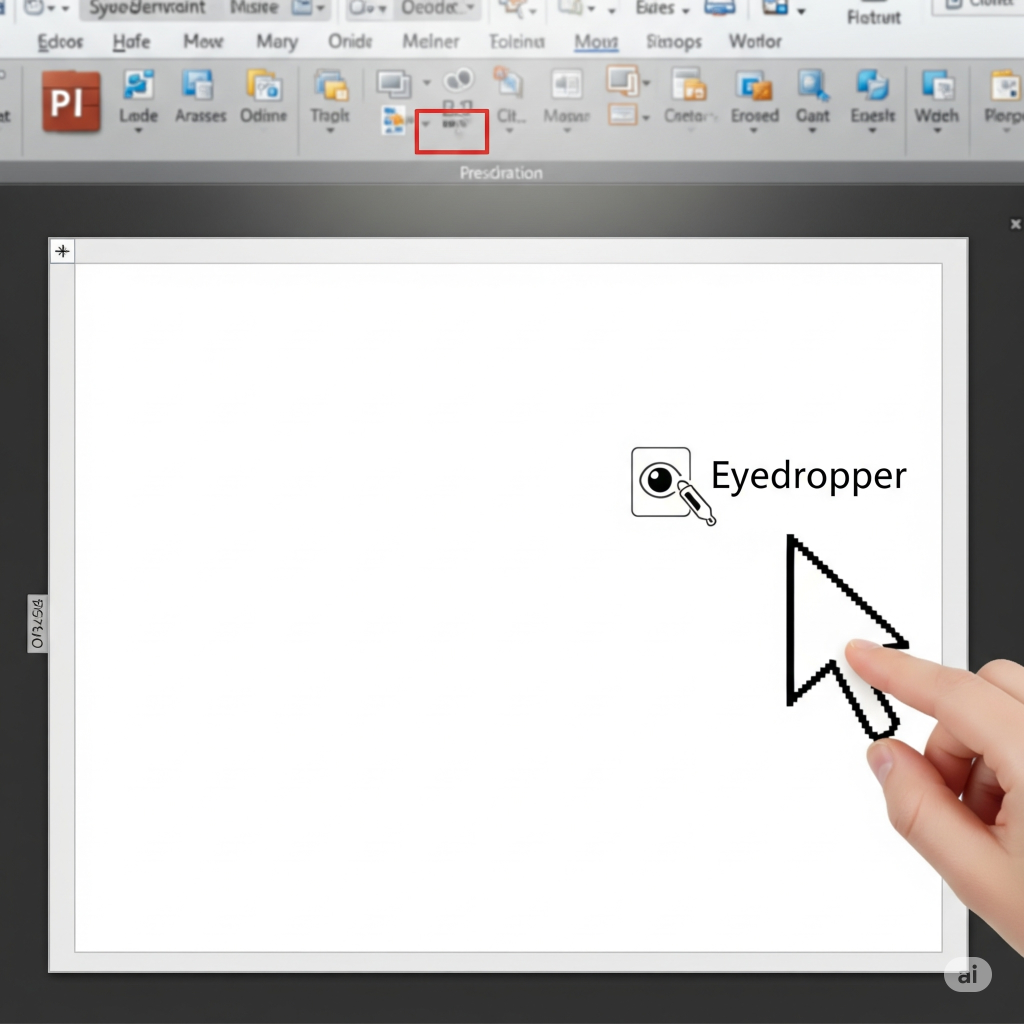
“Set Transparent Color”: From the “Color” dropdown, this is the key: choose “Set Transparent Color.” Your mouse pointer will change into this little pen or eyedropper icon. This means it’s ready to pick a colour.
Click the Colour to Disappear: Now, here’s the cool part: carefully click directly on the colour within your picture that you want to make invisible. Like, if it’s a white background, click the white. And poof! PowerPoint images tries to make all of that exact colour transparent. I’ve found it works better when the background colour is solid and clear, as an example a plain white or black. If it’s got a lot of different shades, it might get a bit messy, but you can try!
3. Using Shapes for Transparency (The “Clever Container” Method – For the Savvy User)
I have a cool suggestion if you want to have more controls, also it works for older verion of powerpoint
It’s like putting your picture inside a see-through box.
Insert a Shape: Go to the “Insert” tab and grab any “Shape.” A rectangle usually works well. Draw it onto your slide.
Fill the Shape with Your Picture: This is the creative bit like CreativeOne! Right-click on the shape you just drew, and choose “Format Shape.” In the panel that opens (usually on the right), go to the “Fill” section.
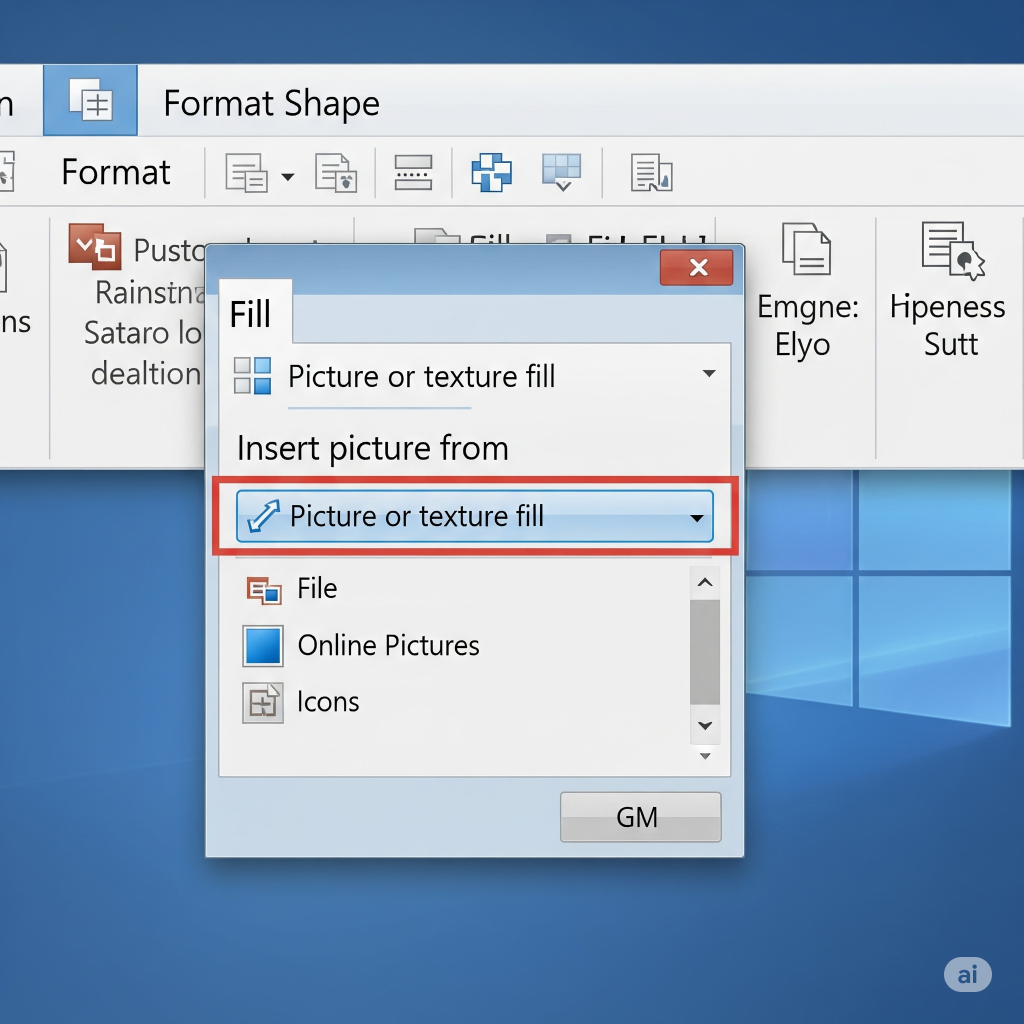
Choose “Picture or Texture Fill”: Select “Picture or texture fill,” and then hit the “File” button (or “Insert” in newer versions) to find your picture. Your picture will magically appear inside the shape. How neat is that?!
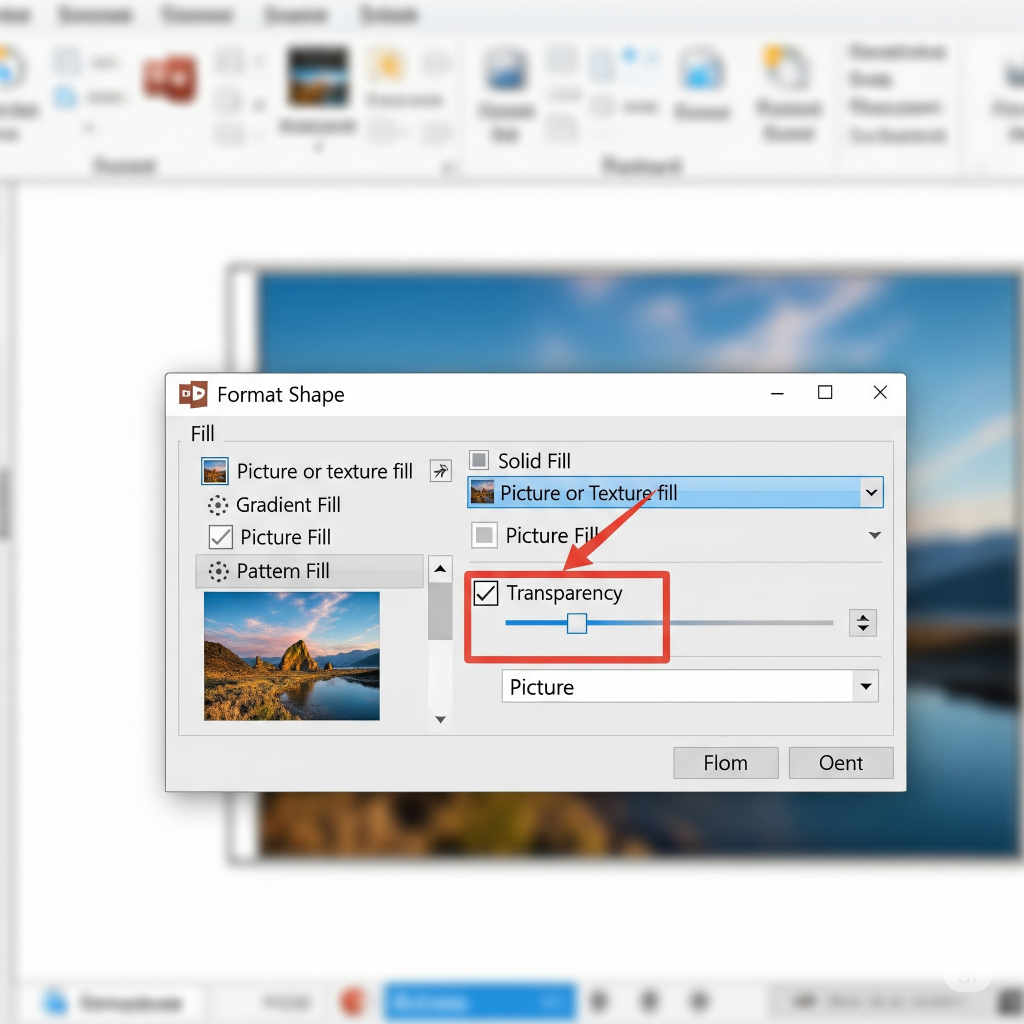
Adjust Shape Transparency: Now, stay in that same “Fill” section of the “Format Shape” panel. You’ll see a “Transparency” slider there. This slider controls the transparency of the shape itself. But since your picture is filling that shape, it makes your picture transparent! This way, you can even make, say, a circular part of an image transparent by putting it in a circle shape. Very versatile!
4. Removing the Background Entirely (The “Actual Cutout” Tool)
This isn’t strictly “transparency” in the same way the others are, but it achieves a similar fantastic result: making the subject of your photo really stand out without any annoying background. It’s like cutting out the main thing in your picture or transparent background.
Select Your Image: Click on the picture you want to transform.
Go to “Remove Background”: On the “Picture Format” tab, usually way over on the left, you’ll see “Remove Background.” Click it!

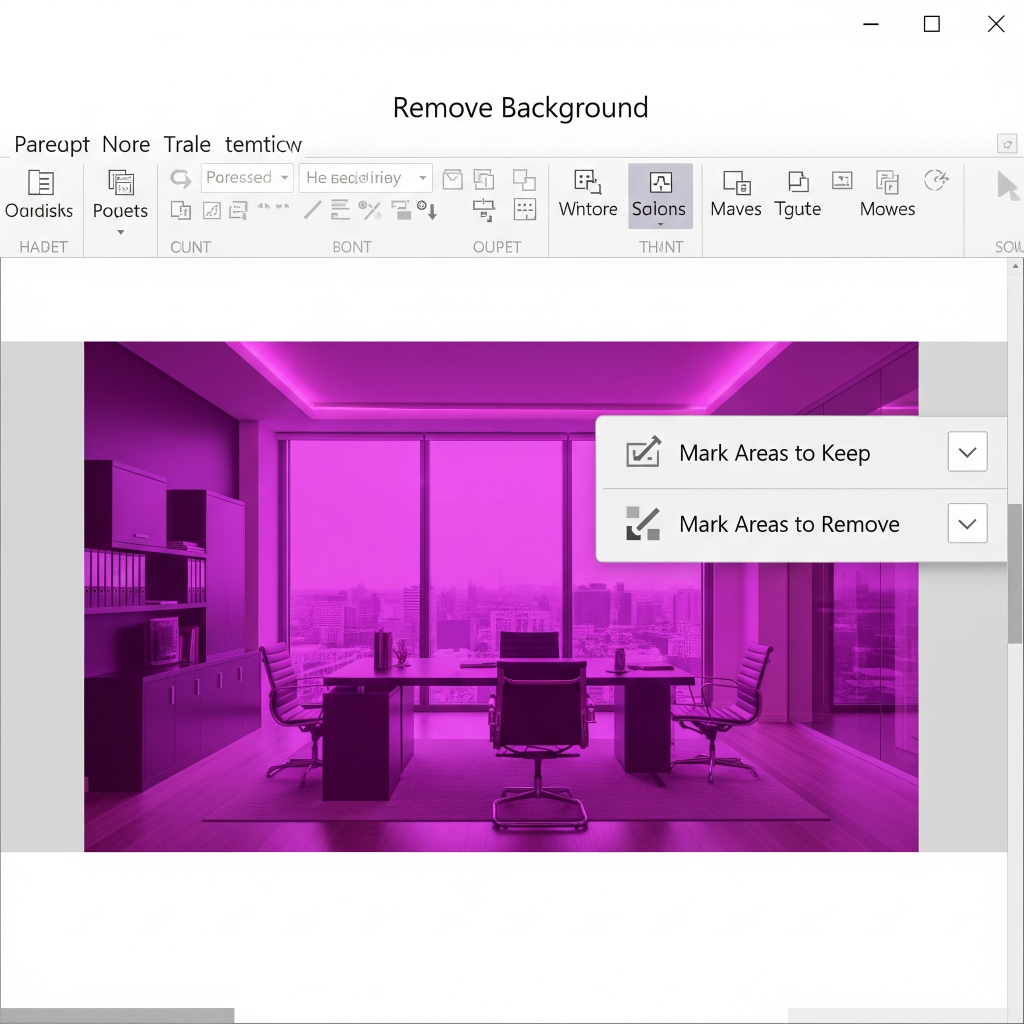
Define Your Areas: microsoft powerpoint will try its best to guess what’s the background (it usually highlights this microsoft powerpoint in a weird magenta colour). Now, this is where you become the artist! Use the “Mark Areas to Keep” tool (you draw lines on the stuff you want to keep) and “Mark Areas to Remove” tool (you draw lines on the stuff you want to get rid of) to refine the selection. It feels a bit like colouring, but you’re telling the computer what to do! Take your time with this step, it makes a big difference.
Keep Changes: Once you’re super happy with your outline, click “Keep Changes.” Boom! Your image’s background is gone, and whatever’s behind it on the powerpoint slide will show through. I’ve found this works best with image where the main subject is pretty clearly different from the background – like a person standing against a wall, not a complex forest.
